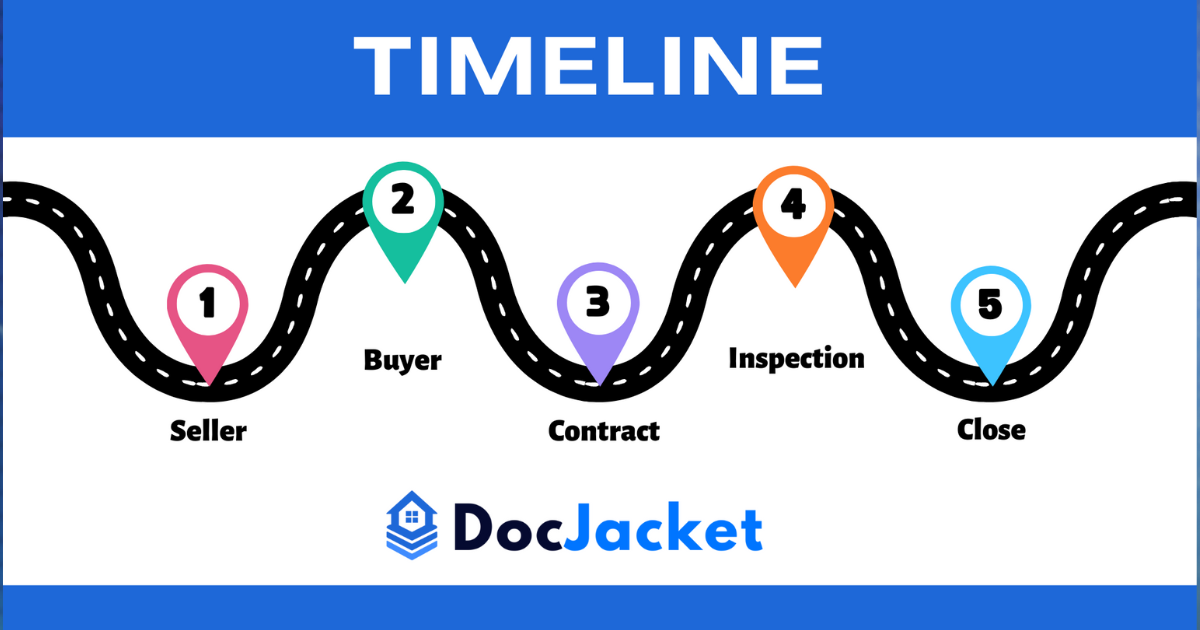
A Guide for Transaction Coordinators
If you’re new to coordinating real estate deals, you might feel like you’ve been dropped into the middle of a maze without a map. Don’t worry – I’ve got your back! Today, we’re breaking down the entire real estate transaction process from start to finish in plain English.
The Two-Phase Approach
First things first: think of every real estate deal as having two distinct phases:
- The Sales Process – Everything from meeting clients to getting that contract signed
- Contract to Close – The journey from signed contract to keys-in-hand (where you’ll spend most of your time!)
As Tim Brooks from Keller Williams puts it, this breakdown gives you a “bird’s eye view” of the entire transaction flow. And you’ll quickly notice something important: the seller’s journey has fewer steps than the buyer’s side, which is packed with moving parts and potential pitfalls.
Let’s dive into what happens in each phase and where you, as a transaction coordinator, fit into this puzzle.

A visual overview of the complete real estate transaction process from listing to closing
Phase 1: The Sales Process
On the Seller Side
The seller’s journey is pretty straightforward (which is why listing agents love it so much):
- Agent meets seller and presents a Comparative Market Analysis (CMA)
- They establish a listing price and sign the listing agreement
- Seller completes required disclosures (these will be important later!)
- The listing goes live in the MLS with professional photos
- Marketing kicks in through various channels
- Then… wait for buyers to show up (brought by other agents)
As a TC, you’ll likely get involved once the listing agreement is signed, managing the paperwork flow and ensuring all disclosures are properly documented. As Tim Brooks calls it, listings are essentially “fire and forget” – the agent does the upfront work, and then other agents bring the buyers.
On the Buyer Side
This is where things get more complex:
- Buyer meets with agent and signs buyer agreement (this should always happen)
- Buyer gets pre-approved for financing (another absolute must)
- If they can’t qualify initially, they work with the lender on a plan to improve creditworthiness
- Once pre-approved, buyers receive properties matching their criteria
- They narrow down to their top choices (ideally looking at their top 3–5 first)
- When they find “the one,” the offer process begins
Pro tip from top agents: Never take buyers to see properties above their pre-approval amount. This just leads to frustration and disappointment. Also, help them focus on their top 3 properties first—this prevents the endless “just one more house” syndrome!
Where the Paths Converge: The Offer & Negotiation
This is where the buyer and seller sides meet:
- Buyer agent crafts the offer with all terms and conditions (settlement date, deposit amount, seller contributions, etc.)
- The offer, pre-approval letter, and earnest money deposit copy are submitted to the listing agent
- Listing agent presents to seller, who can accept, counter, or reject
- Negotiation dance begins until both parties agree (or walk away)
- Once signed by all parties, we have a ratified contract!
As Tim Brooks says, this negotiation phase is “where you either save or make your client a lot of money.” It’s also where your organizational skills as a TC become crucial—tracking changes, ensuring all parties sign off on modifications, and maintaining clear documentation of the evolving agreement.
Phase 2: Contract to Close
This is your time to shine as a transaction coordinator! Once that contract is ratified, the clock starts ticking and multiple processes kick off simultaneously. As Tim Brooks puts it, “As we move into the contract to close phase, things start moving very quickly; then there starts to be a lot of moving parts.”

Contract-to-close phase showing the parallel tracks that must be coordinated
Immediate Next Steps (Days 1–2)
- Contract sent to title company with earnest money deposit
- Contract sent to lender to begin loan process
- Buyer contacts insurance company for homeowner’s insurance quotes
- Home inspection scheduled (must happen quickly, usually within 7–10 days of contract)
All of these steps need to happen ASAP—literally the day the contract is ratified if possible. Every day counts in this phase!
The Parallel Tracks (Days 3–30)
Track 1: Inspections & Repairs
- Home inspection conducted
- Inspection report reviewed
- Repair requests submitted (if needed)
- Negotiation of repairs or credits
- Resolution of inspection contingency
Fun fact: Experienced agents recommend the sellers not be present during inspections—as Tim Brooks notes, “Please don’t have your sellers be there. It gets awkward.”
Track 2: Title Work
- Title search conducted
- Preliminary title report prepared
- Any title issues addressed
Track 3: Loan Process
- Appraisal ordered and conducted (typically happens within 7 days of being ordered)
- Underwriting review of all financial documentation (verifying W-2s, pay stubs, tax returns match pre-approval docs)
- Loan conditions satisfied
- Final approval and clear to close issued
Track 4: Insurance
- Homeowner’s insurance policy secured
- Proof sent to lender and title company
Your job as TC is to keep all these balls in the air, ensuring nothing falls through the cracks. You’ll be sending reminder emails, updating timeline trackers, and checking in with all parties to make sure each step happens on schedule.
The Final Countdown (Last Week Before Closing)
When all contingencies have been removed and the loan is approved, you’ll coordinate the final steps:
- Final walkthrough scheduled (usually day before or day of closing)
- Closing disclosure reviewed by buyers (must be done at least 3 days before closing)
- Final figures confirmed with title company
- Closing appointment scheduled with all parties
- Seller reminded to bring keys, garage openers, and warranty documents
As Tim Brooks emphasizes, “It’s very important that all of those things have to happen by the date that was in the contract that we agreed to close by.” If not, you’ll need to coordinate an extension of the settlement date—another document that will need signatures from all parties.
Closing Day
The big day arrives! Here’s what happens:
- Buyer does final walkthrough to verify property condition hasn’t changed
- All parties meet at the title company (or closing attorney’s office)
- Mountains of paperwork signed
- Funds transferred
- Keys, garage door openers, and warranties exchanged
- Lockbox removed (the buyer’s agent often brings this to closing as a courtesy)
- High fives all around!
Transaction Coordinator Pro Tips
Based on this process, here are some golden nuggets to make your TC life easier:
- Create detailed checklists for each transaction phase—your brain will thank you
- Use a transaction management system to track deadlines and store documents
- Communicate proactively—don’t wait for problems to arise
- Build relationships with reliable vendors (inspectors, title officers, lenders)
- Document everything—if it’s not in writing, it didn’t happen
- Stay on top of deadlines—calendar alerts are your best friend
- Learn to anticipate issues before they become problems
- Be prepared for second negotiations—after inspections, there’s often another round of negotiating repairs
The TC Difference
Remember, as a transaction coordinator, you’re the glue holding everything together. Agents are often juggling multiple deals and client relationships—you’re the detail person making sure nothing slips through the cracks.
As Tim Brooks points out, the buyer side has many more steps than the seller side, which means more potential points of failure. Your role is to keep track of all those moving pieces and ensure they come together smoothly by the closing date.
Your ability to manage this complex process with calm efficiency is what makes you invaluable. While the agents are out finding the next deal, you’re ensuring the current one gets to the finish line smoothly.
So embrace your role as the behind-the-scenes hero of real estate! Master this process, and you’ll be the transaction coordinator everyone wants on their team.
Now go forth and coordinate with confidence! You’ve got this! 🎉
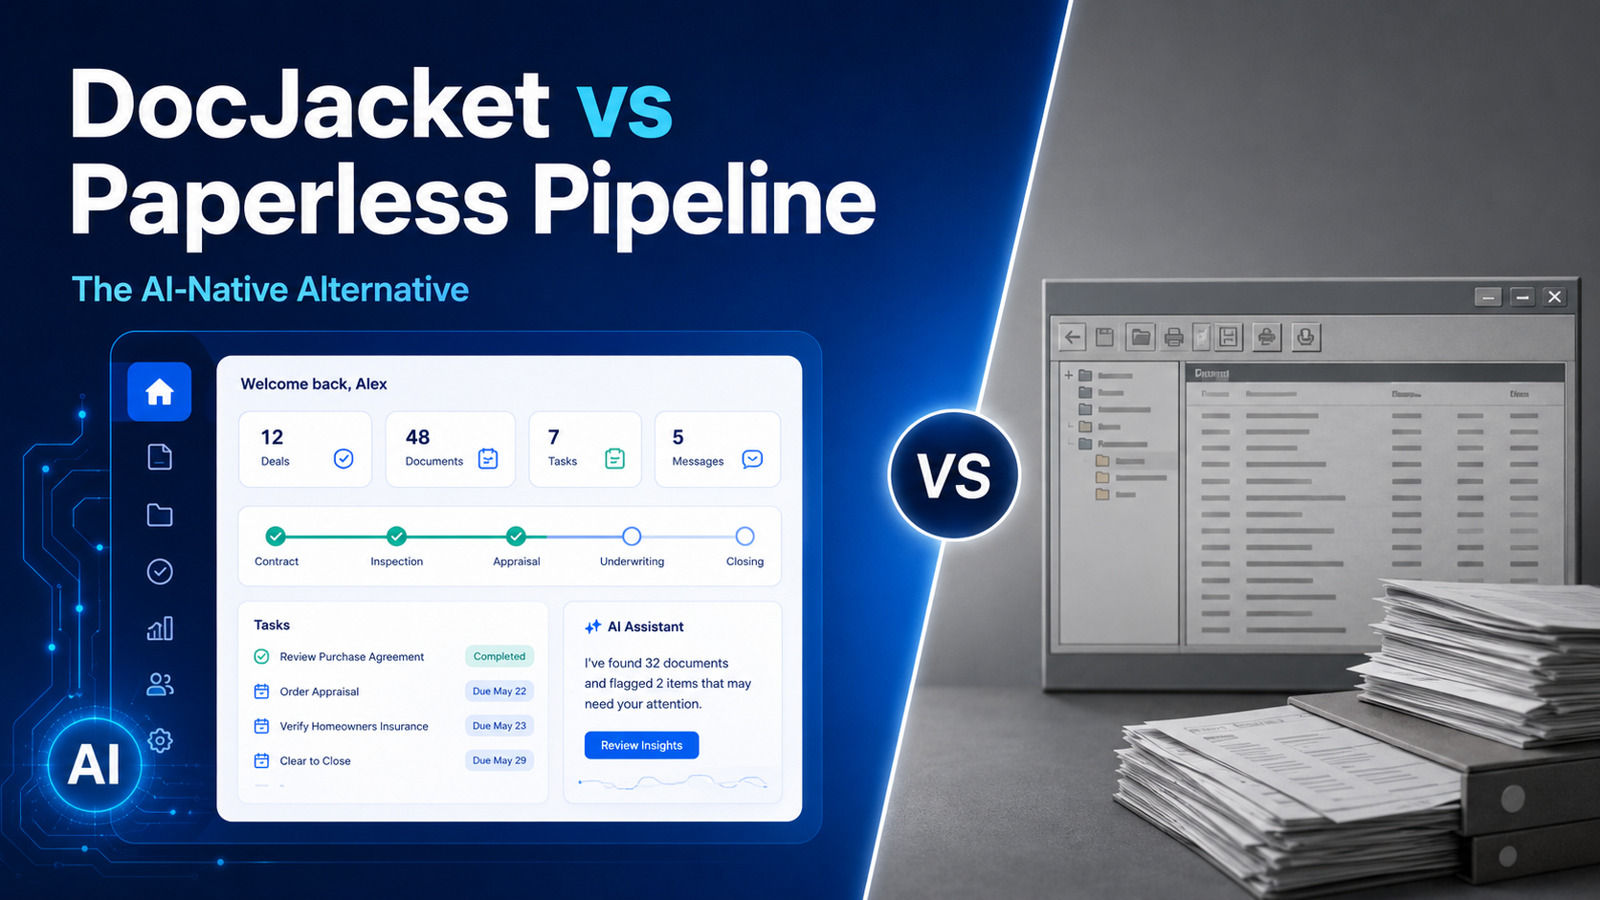
Going Paperless: Modernizing Your Transaction Process
The traditional real estate transaction process involves mountains of paperwork, countless emails, and manual coordination across multiple platforms. But there’s a better way: paperless pipeline technology.
Why Transaction Coordinators Are Going Digital
Modern TCs are ditching paper-based workflows for digital transaction management systems that:
- Centralize all documents in one secure location
- Automate deadline tracking and reminder notifications
- Enable real-time collaboration between all parties
- Reduce errors with built-in compliance checks
- Speed up transactions by eliminating manual processes
Implementing a Paperless Pipeline in Each Phase
Phase 1: Digital Sales Process
- Electronic listing agreements and buyer contracts
- Automated disclosure management
- Digital signature capabilities for all documents
Phase 2: Streamlined Contract-to-Close
- Automated task creation for each milestone
- Real-time status updates for all parties
- Integrated communication with lenders and title companies
- Digital document storage with version control
Choosing the Right Transaction Management Software
Not all platforms are created equal. When evaluating transaction management software for real estate, consider:
- Ease of use for all parties (agents, clients, vendors)
- Integration capabilities with MLS and other tools
- Compliance features specific to your state
- Mobile accessibility for on-the-go coordination
- Customer support and training resources
Popular options include DocJacket, AFrame, and Paperless Pipeline, each with unique strengths for different business models.
Sources & Further Reading
This guide was primarily based on Tim Brooks’s transaction overview with the Brooks Group at Keller Williams Realty. Tim’s practical breakdown of the real estate transaction process provides an excellent foundation for transaction coordinators.
Additional Resources for Transaction Coordinators
- National Association of REALTORS® – Transaction Management Resources
- Real Estate Express – Transaction Coordinator Career Guide
- Paperless Pipeline – Transaction Coordinator Checklist Templates
- The CE Shop – Transaction Coordinator Training Resources
- Inman – Articles on Transaction Management
Recommended Books
- The Real Estate Transaction Coordinator Handbook by Monica Beyer
- The Millionaire Real Estate Agent by Gary Keller (includes excellent process mapping)
- The Real Estate Agent’s Guide to FSBOs by John Maloof (helpful for understanding the listing side)
Tech Tools for Transaction Coordinators
- DocJacket
- Dotloop
- SkySlope
- Paperless Pipeline
- DocuSign Transaction Rooms
- Trello or Asana (for task management)
Special thanks to Tim Brooks for sharing his expertise and real-world transaction insights that made this guide possible.